kiln-guides 6 min read
Kiln Element Replacement: Life, Cost, and DIY vs. Tech
How long kiln elements last, the signs they are failing, what replacement sets cost for Skutt and L&L kilns, and whether to swap them yourself or call a tech.
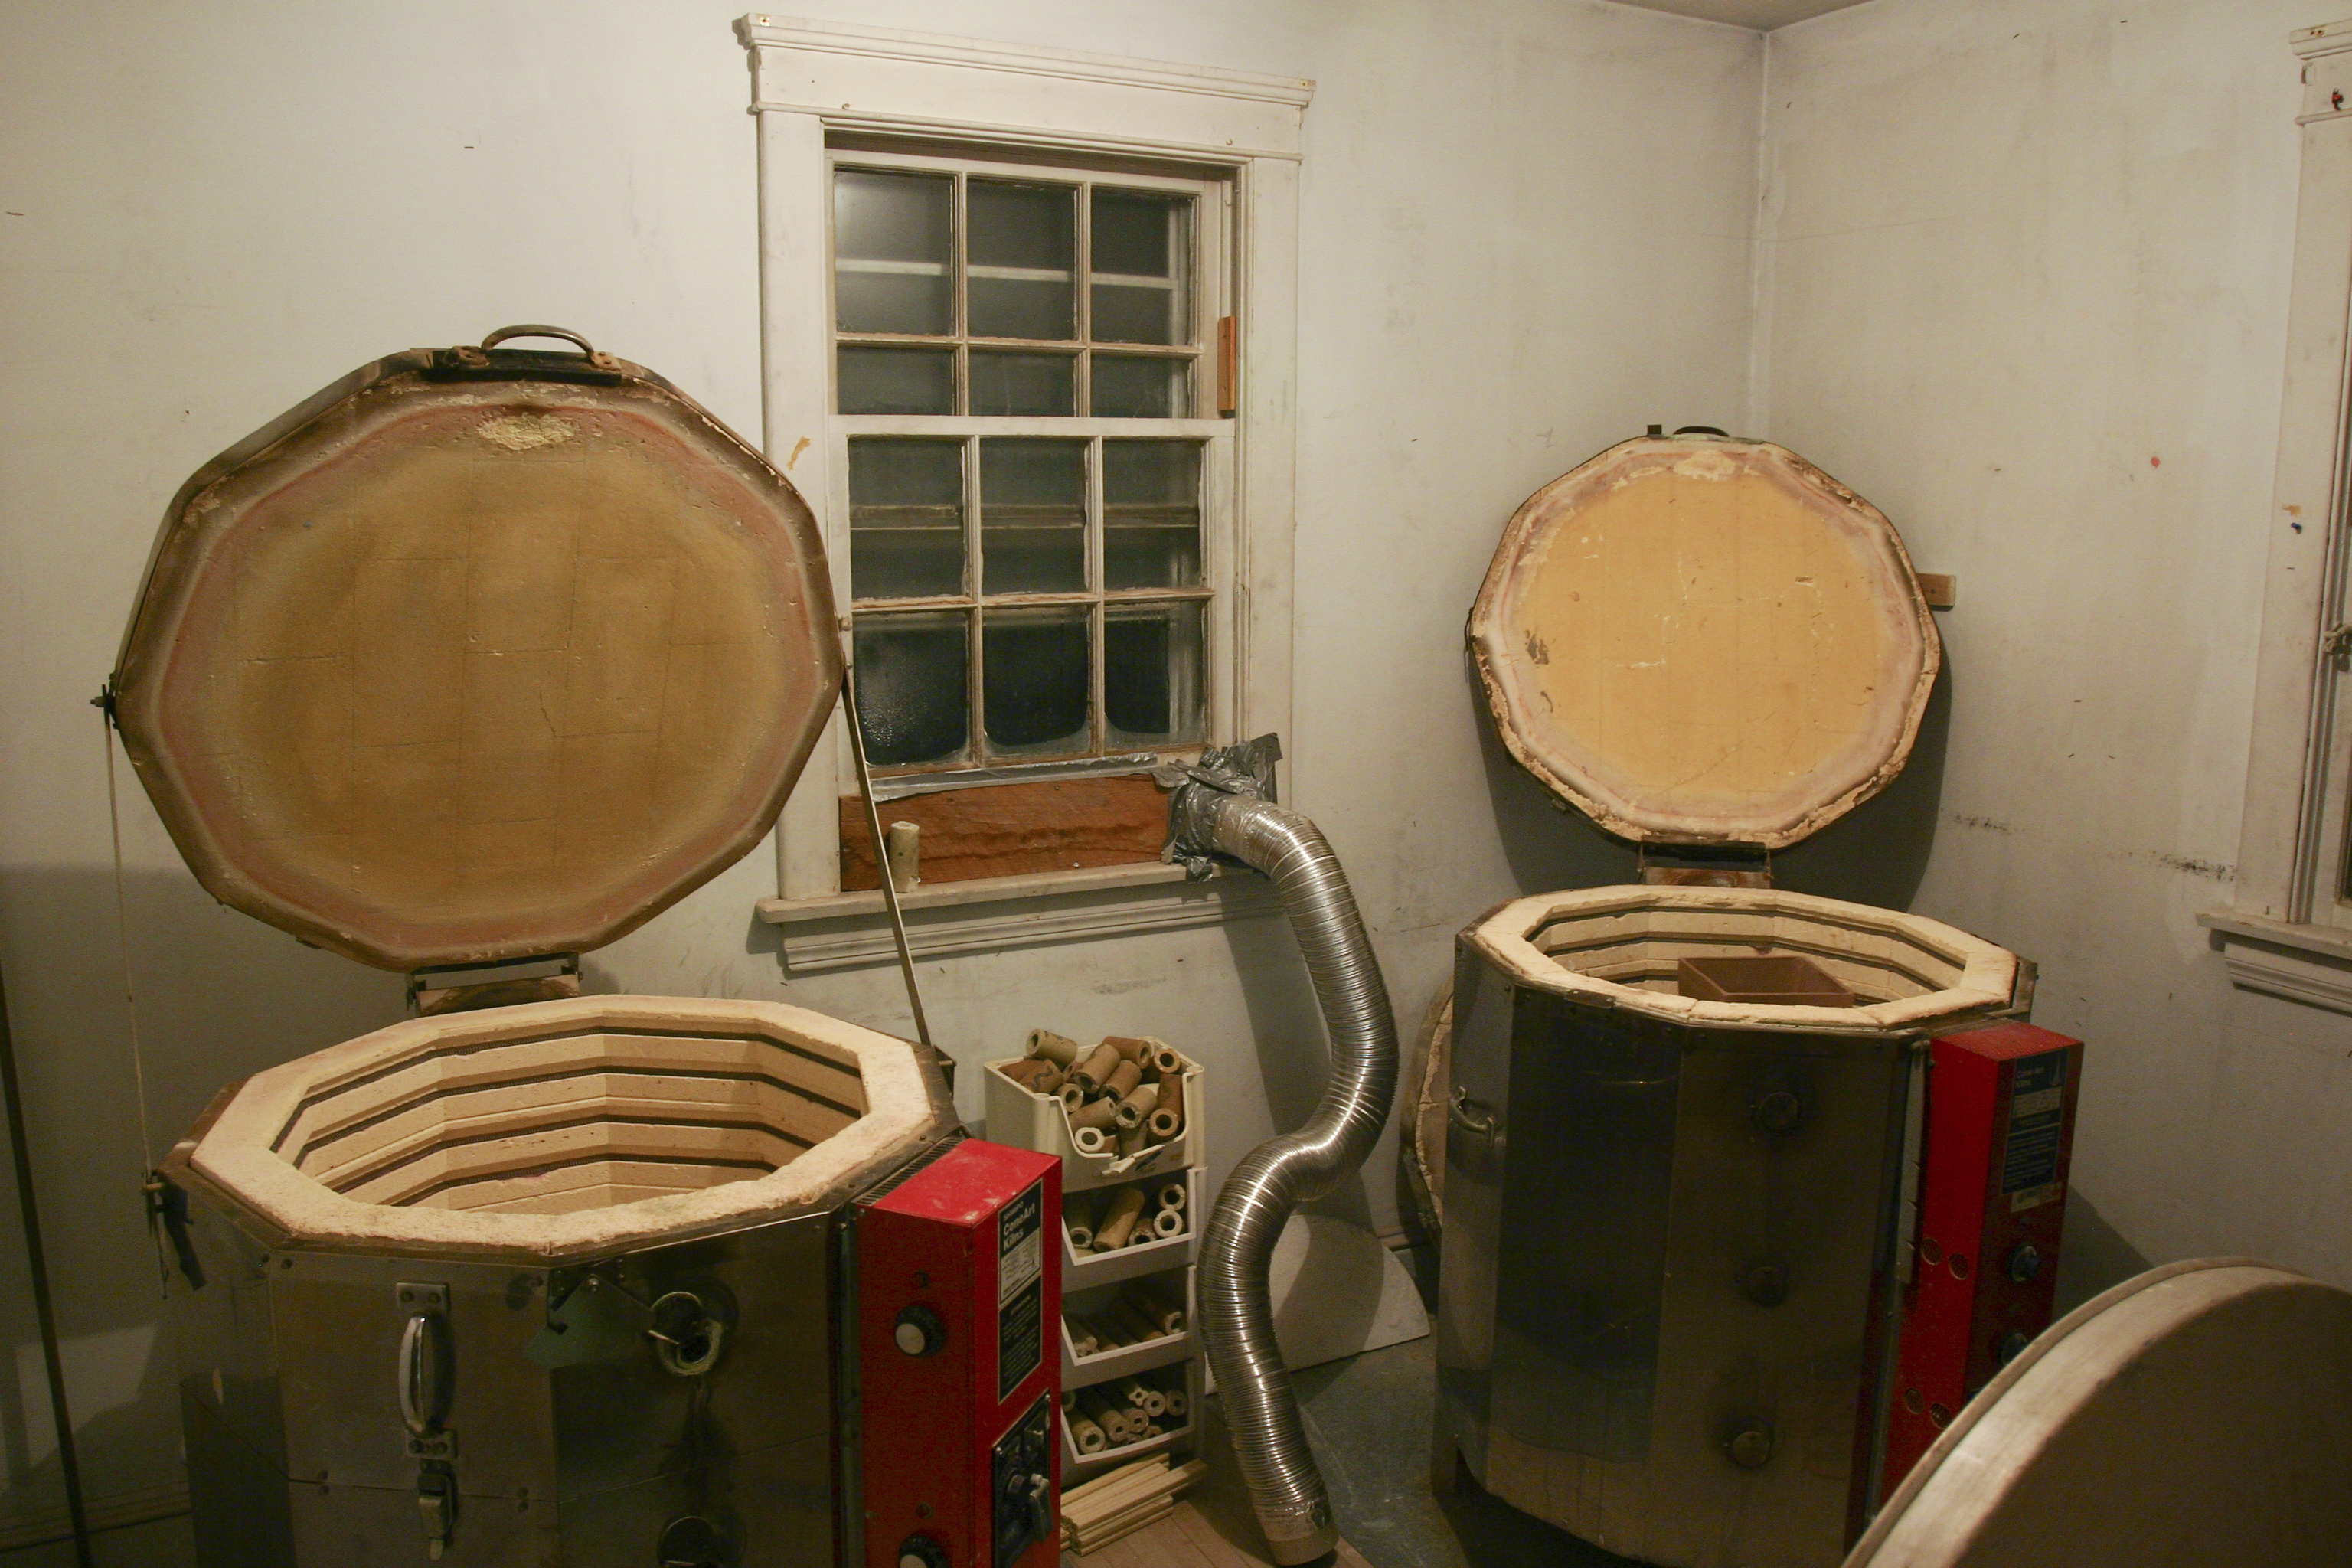
Kiln elements are the coiled resistance wire inside the kiln walls that generate heat when electricity passes through them. They are the highest-wear maintenance item in any electric kiln, and replacing them is the most common repair a home studio potter will need to perform. Unlike a mechanical failure, element wear is gradual and predictable.
Understanding when elements need replacement, what it costs, and whether to do it yourself or hire a technician makes the maintenance decision straightforward.
How elements work and why they wear out
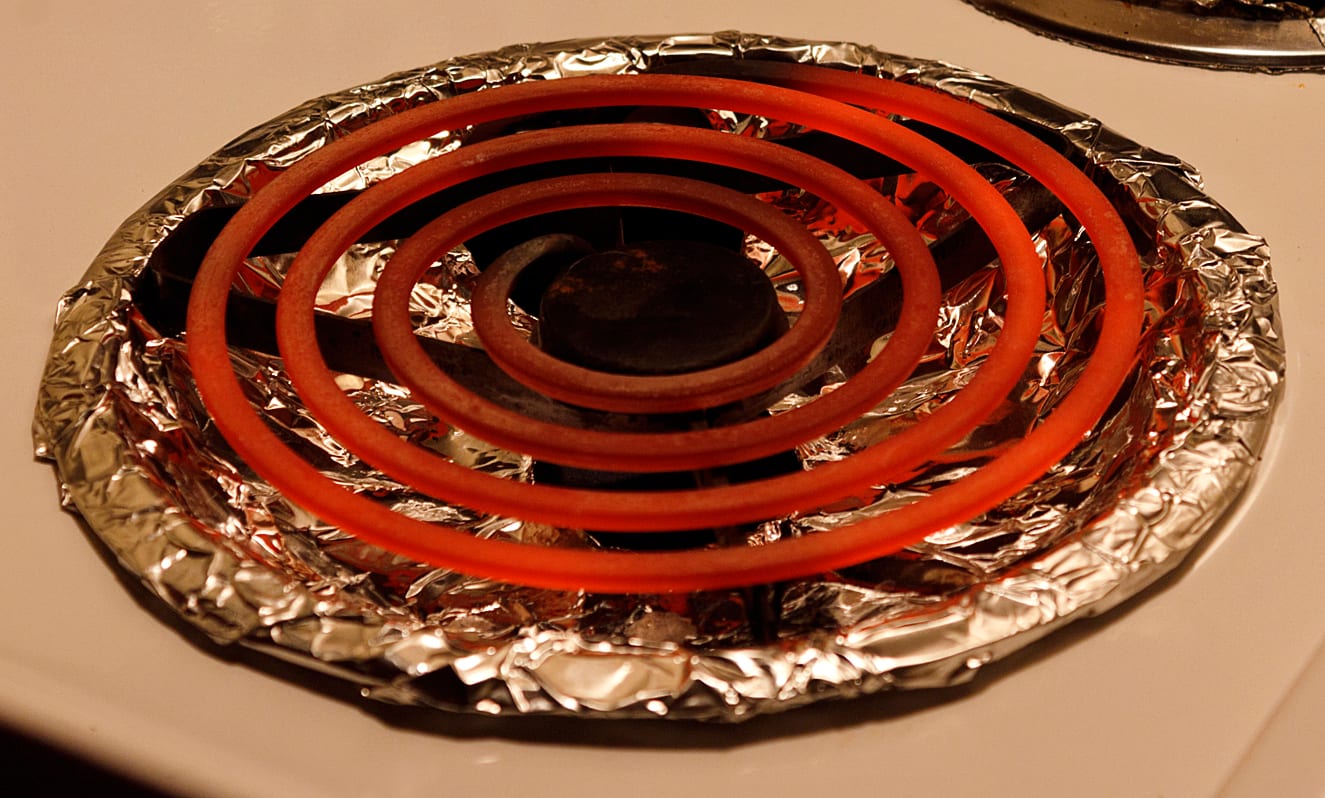
Kiln elements are made from Kanthal A-1 or similar iron-chromium-aluminum alloy wire. The wire heats by electrical resistance: current passing through the wire meets resistance, converting electrical energy to heat. The element operates at a fraction of its melting point but still at extremely high temperature (up to 2200°F+ in cone-6 use).
Each firing cycle takes the element through a full thermal cycle: cold to glaze temperature and back. Over many cycles, the alloy surface oxidizes and develops a protective aluminum oxide layer, which is part of what makes Kanthal suitable for kiln use. Eventually, however, repeated thermal cycling causes the metal to become brittle, develop thin spots, and lose resistance uniformity. A worn element draws less power than its rated wattage, causing longer firing times and eventual inability to reach target temperature.
Element life by firing pattern
Cone 6, typical studio use (6 to 8 hours per firing, 15 to 20 minute hold at peak):
Most element manufacturers and kiln makers publish expected life of 100 to 200 firings for cone-6 use. The range reflects variation in how close to maximum rated temperature the kiln fires. A kiln that fires cone 6 and rarely goes higher stays at the longer end of that range; frequent cone-8 or cone-10 firing shortens it.
Cone 10 use:
Firing closer to the element’s maximum rated operating temperature accelerates wear. Expect 50 to 150 firings at cone 10, with shorter life at the upper end of cone-10 temperatures.
Low-fire use only (cone 04 to cone 2):
Elements in kilns that never fire above cone 2 last significantly longer, sometimes three to four times longer than cone-6 use. Jewelry kilns and low-fire studios often have very long element lives.
Conversion to firing count by year:
A home studio potter firing twenty times per year at cone 6 may get five to ten years from an element set. A studio firing fifty times per year may need replacement every two to four years.
Signs that elements need replacement
Firing times are lengthening. The most reliable early indicator. Keep a firing log: date, kiln load description, firing type, and time to reach temperature. When the kiln consistently takes 20 to 30 percent longer to reach cone than it did on the first fifty firings, elements are wearing.
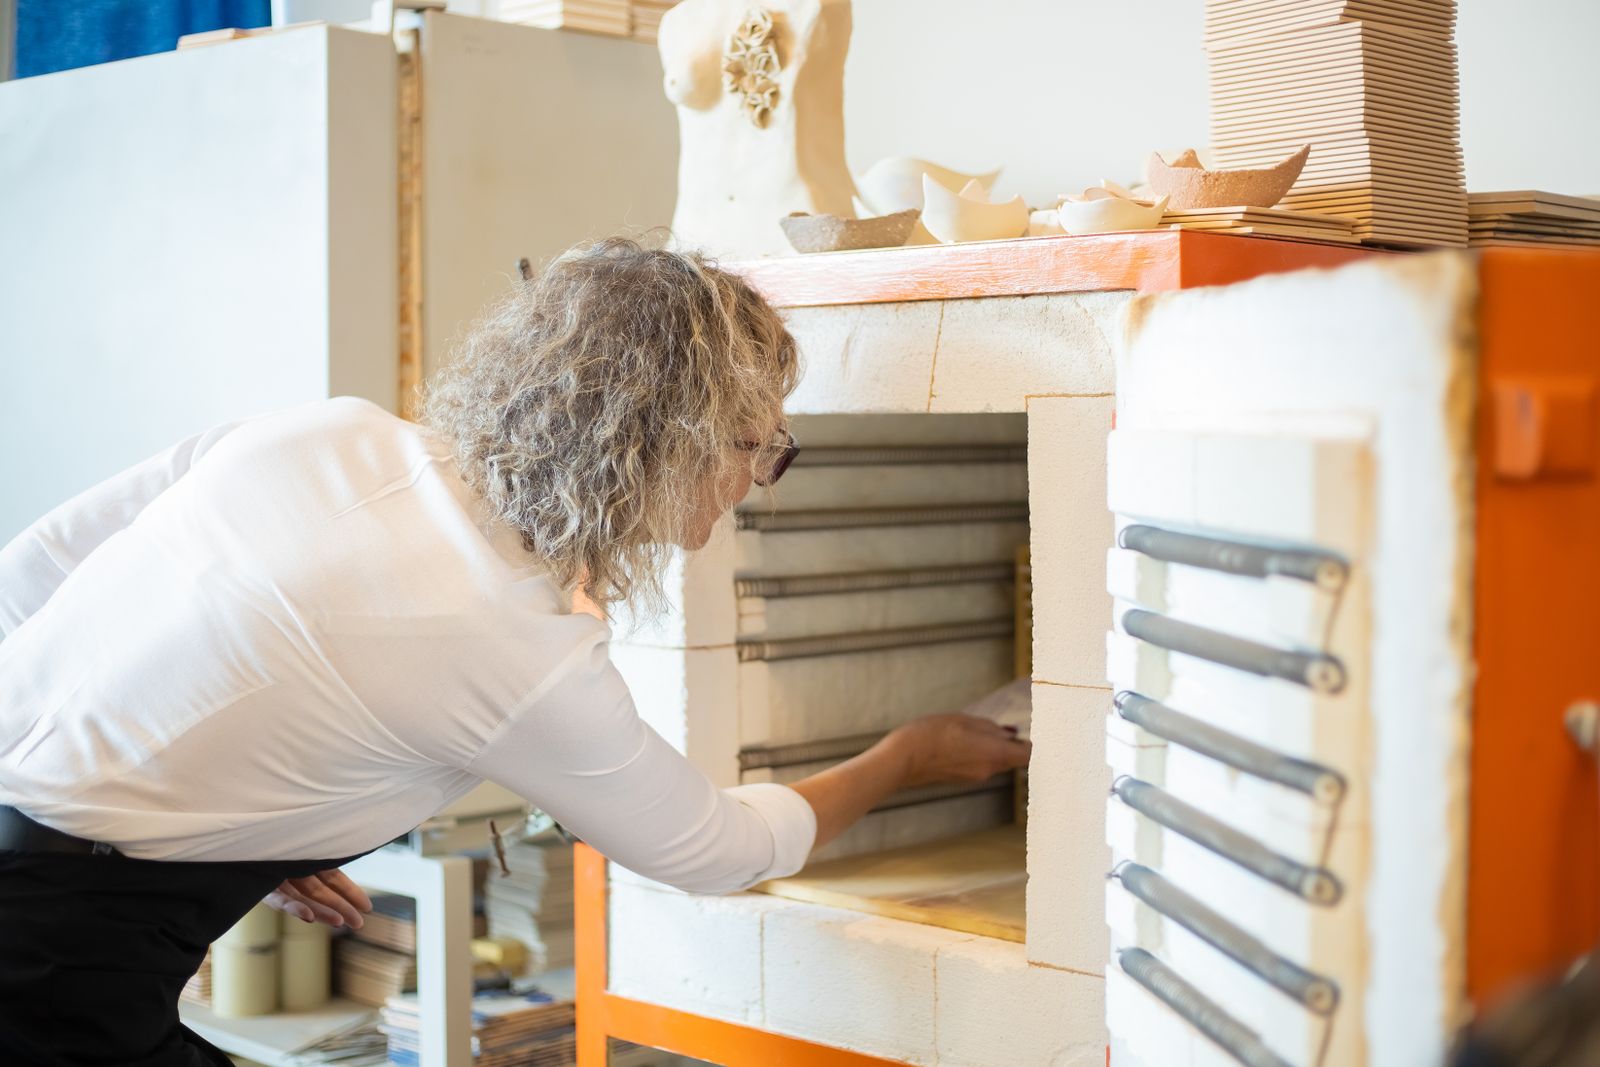
Elements are sagging. Visually inspect the elements when the kiln is cold and unplugged. Elements in groove-in-brick designs should coil smoothly through their channels without drooping. Sagging elements can short-circuit against the brick wall or against each other, causing trips or uneven firing.
The kiln cannot reach target cone. If a kiln that once reliably reached cone 6 in 8 hours now fails to reach cone 6 on a full schedule, element power output has dropped below what the firing requires.
Uneven glaze development top to bottom. If the top section shows a different degree of glaze development from the bottom, one element ring may be performing differently from the others. In a 1-zone kiln, the controller cannot compensate for an underperforming element ring; in the L&L Genesis 3-zone system, the zone will show a wider differential before compensating, which is visible in the controller’s zone readout.
Skutt vs. L&L element designs
Skutt KM-series (groove-in-brick): Elements coil through channels cut in the firebrick. Replacing elements requires manually routing new coil through the channels and securing the ends at the terminal connections. The process takes 2 to 4 hours for a full set with some practice. Skutt publishes a step-by-step replacement guide on their website.
L&L ceramic element holders: Ceramic spring clips mounted on the firebrick surface hold the element coil. Releasing an old element and seating a new one requires no tools. The clips release by hand. L&L’s design intent is that element replacement is accessible to the kiln owner without special tools or training. This design also holds elements off the brick surface, reducing mechanical stress on the coil during thermal expansion.
Both designs are serviceable by an experienced home studio potter. The L&L holder system is somewhat faster and requires less physical manipulation of the coil; the Skutt groove system requires careful seating and checking for proper coil depth in the channel.
What element replacement costs
Element sets are priced by kiln model. The set includes the correct number of elements cut to the right length and resistance for the specific kiln model and production year. Before ordering, confirm the part number with your kiln’s model number and serial number: element geometry has varied across production years for some models.
Sources for replacement elements: Sheffield Pottery, Krueger Pottery Supply, Soul Ceramics, and directly from the manufacturer. Check current pricing at dealers before ordering; element set prices reflect wire alloy costs and change over time.
What a service technician charges: for a technician visit, budget the element set cost plus a service call fee (typically $75 to $150 depending on region) plus the technician’s time (typically 1 to 3 hours at shop rates). Total technician cost for element replacement on a full-size kiln typically runs $200 to $500 above the cost of the elements themselves.
DIY vs. technician: For most home studio potters with a KM-series Skutt or an L&L with holder elements, DIY replacement is feasible following the manufacturer’s instructions. The main reason to hire a technician is if the kiln has additional electrical issues (failing thermocouple, relay problem, wiring degradation) beyond simple element wear. A technician can diagnose and address compound problems in one visit; a DIY repair that doesn’t account for a secondary issue may require a second visit.
Extending element life
Use kiln wash on shelves. A properly waxed bottom of a piece and a properly washed shelf should prevent any glaze from dripping to the kiln floor. Glaze on the floor elements shortens their life significantly because the glaze fuses to the element coil and creates a hot spot.
Avoid thermal shock. Crashing a very hot kiln open for early unloading cycles the elements through a rapid thermal shock. Let the kiln cool to below 250°F before opening.
Fire at the minimum cone needed. If a clay body and glaze mature at cone 6, there is no reason to fire to cone 8. Lower peak temperatures extend element life at both ends of the firing count range.
Check elements annually. Visual inspection when the kiln is cold and unplugged catches developing sag before it causes a short or a trip.
For individual kiln specs including element wattage and configuration, see the KM-1027 review, KM-1018 review, KM-818 review, and L&L e23T review. For firing schedules that affect element wear, see kiln firing schedules. For the full cost picture including elements alongside electricity and consumables, see kiln cost to fire.