kiln-guides 13 min read
Pottery Studio Tools and Materials: The Real Setup List
What a home studio needs after the kiln and the wheel: tools, bats, clay, glaze, kiln furniture, cones and a respirator. With verified August 2026 prices.
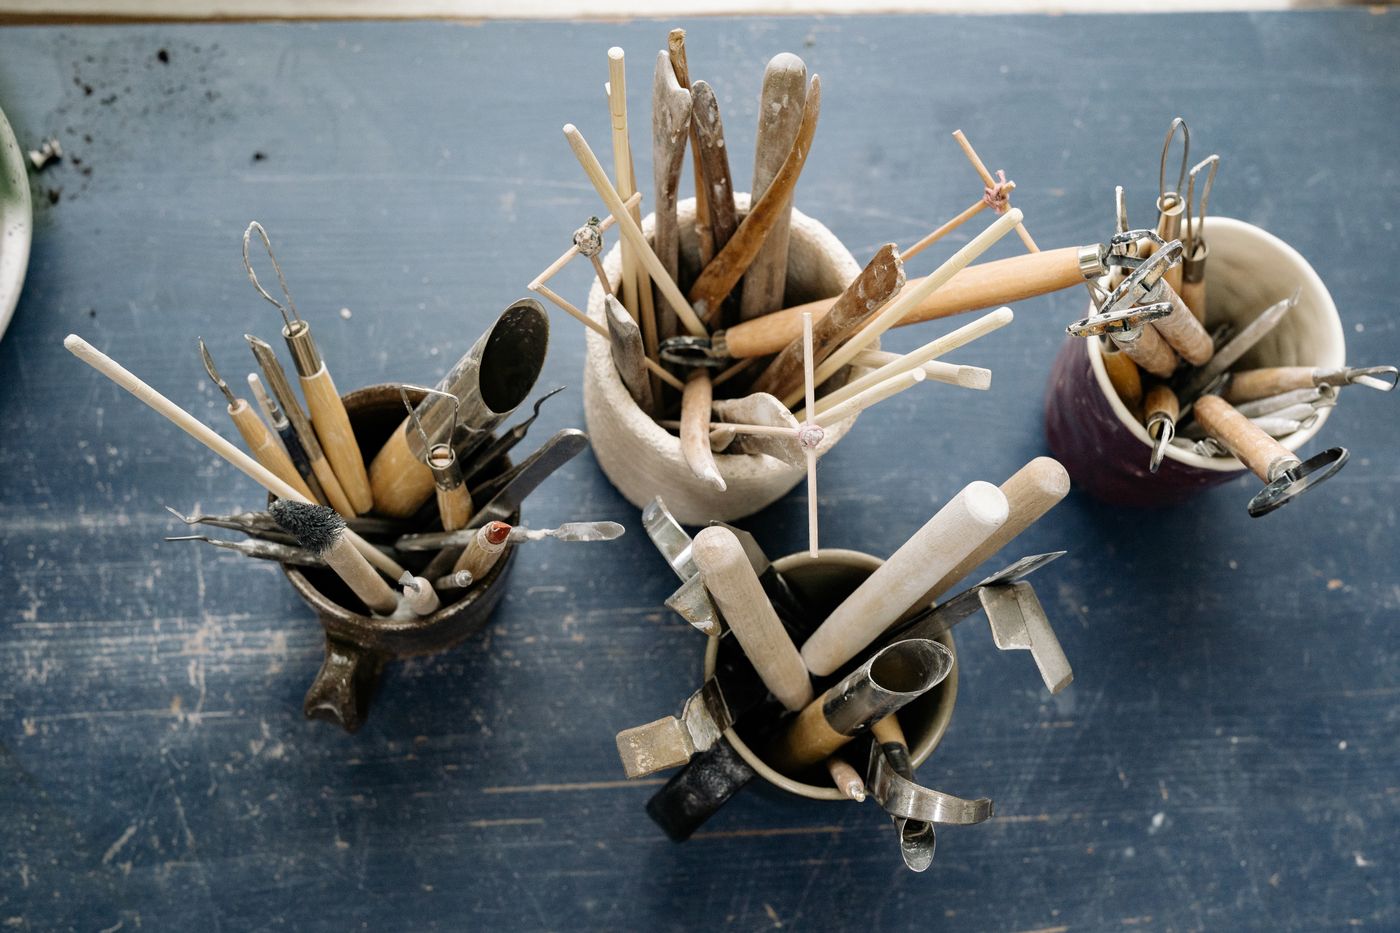
Past the kiln and the wheel, a working studio needs about eight things: tools you throw with, bats, clay, glaze, kiln furniture, cones, ware storage and a respirator. Kiln furniture is the surprise. Five shelves for a seven cubic foot kiln come to $444 at Sheffield Pottery, which is what the same dealer charges for a full set of replacement elements.
Nobody budgets for that. The kiln and the wheel get all the attention because they are the machines, and then the first firing turns out to need $500 of ceramic slabs to sit on.
What does a studio actually need, and in what order?
Here is the whole list, ordered by when it stops you if you skip it.
| Order | Category | Blocks you at | Rough scale |
|---|---|---|---|
| 1 | Clay | day one | $44 for 50 lb, verified below |
| 2 | Throwing tools | day one | one 8-piece kit |
| 3 | Bats | first matched set | two included with most wheels |
| 4 | Ware boards and shelving | the second session | lumber and a rack |
| 5 | Respirator and wet cleanup | first time you sweep | one P100 half mask |
| 6 | Kiln furniture and kiln wash | first firing | $444 to $570 for shelves alone |
| 7 | Cones | first firing you care about | a box of 25 |
| 8 | Glaze | first glaze firing | varies by colour and format |
Items 1 through 5 are cheap and obvious. Item 6 is the one that reorders people’s budgets, so it gets the most space below.
What do you throw with?
Four tools do 90 percent of the work, and every 8-piece kit contains all four: a wire cutter to release the pot from the head, a needle tool to trim an uneven rim, a rib to compress and shape a wall, and a sponge to control water. The other four in the box get used occasionally.
That is why an 8-piece pottery tool set is a better first purchase than a 43-piece one. The large kits are mostly sculpting and carving tools sized for polymer clay, and a beginner who buys 43 tools ends up learning which four they use anyway, having paid for a roll-up case.
Two upgrades earn their place once you know what you are doing.
A polymer rib. Mudtools makes theirs in graded firmnesses coded by colour, red being the softest and blue the firmest. A soft rib compresses a curve without leaving a track; a firm one cuts a crisp line. A single wooden rib does neither as well, and this is the tool most experienced throwers own five of.
A proper trimming tool. Trimming is where a cheap kit shows its limits, because a dull loop tears leather-hard clay rather than cutting it. A double-ended trim tool with a real cutting edge is the difference between a clean foot ring and a chewed one.
How many bats do you actually need?
More than the two that came with the wheel, and the answer is set by your slowest step, not your fastest.
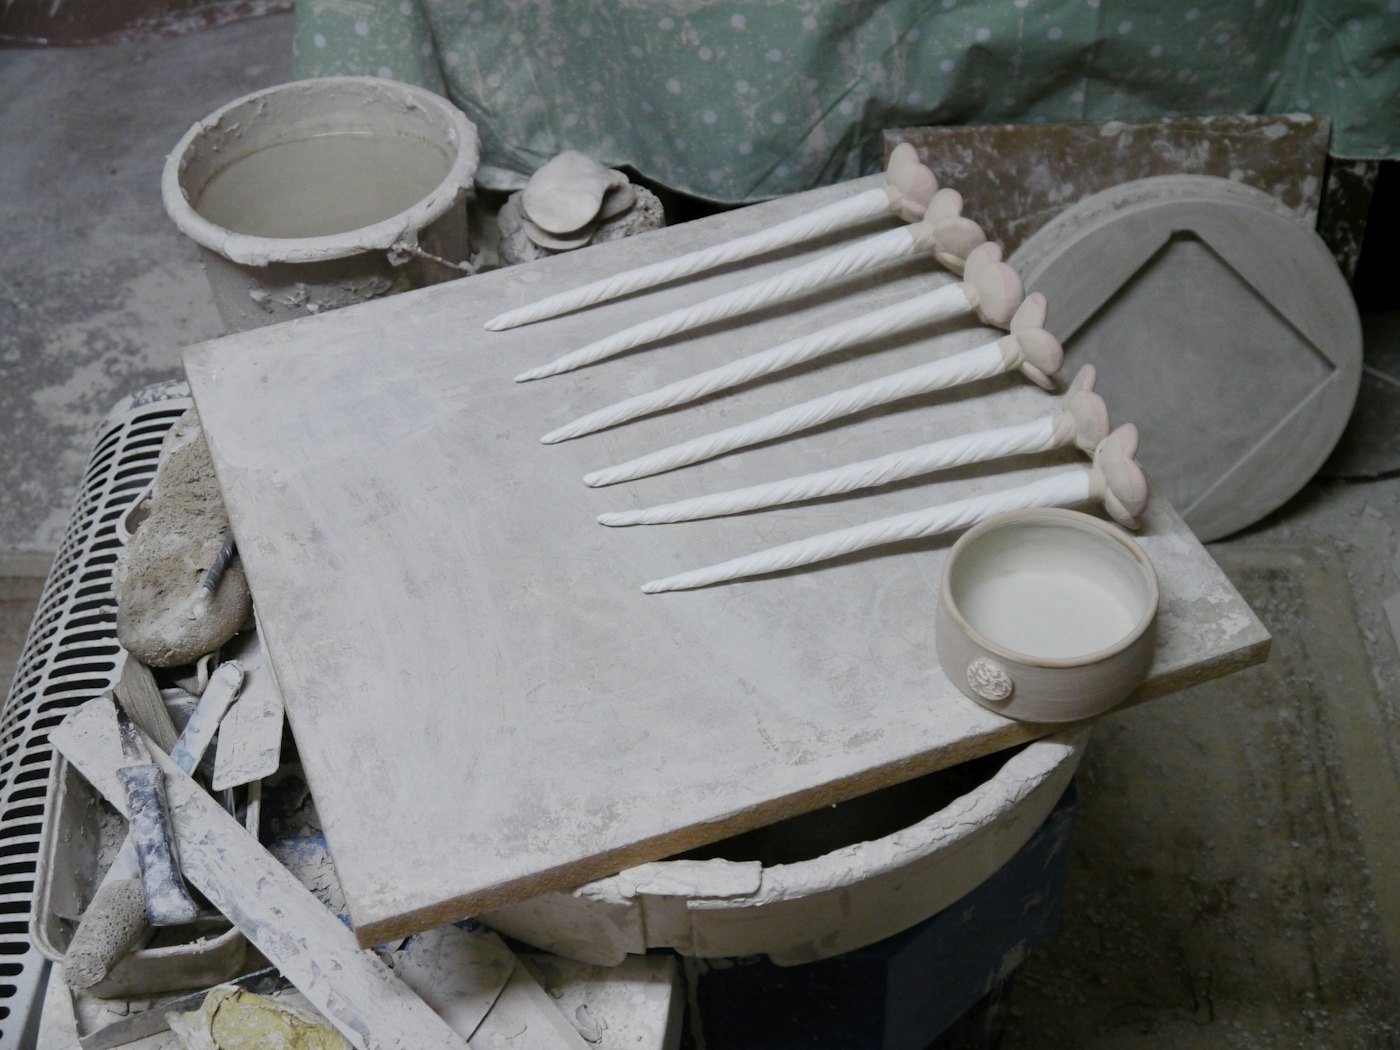
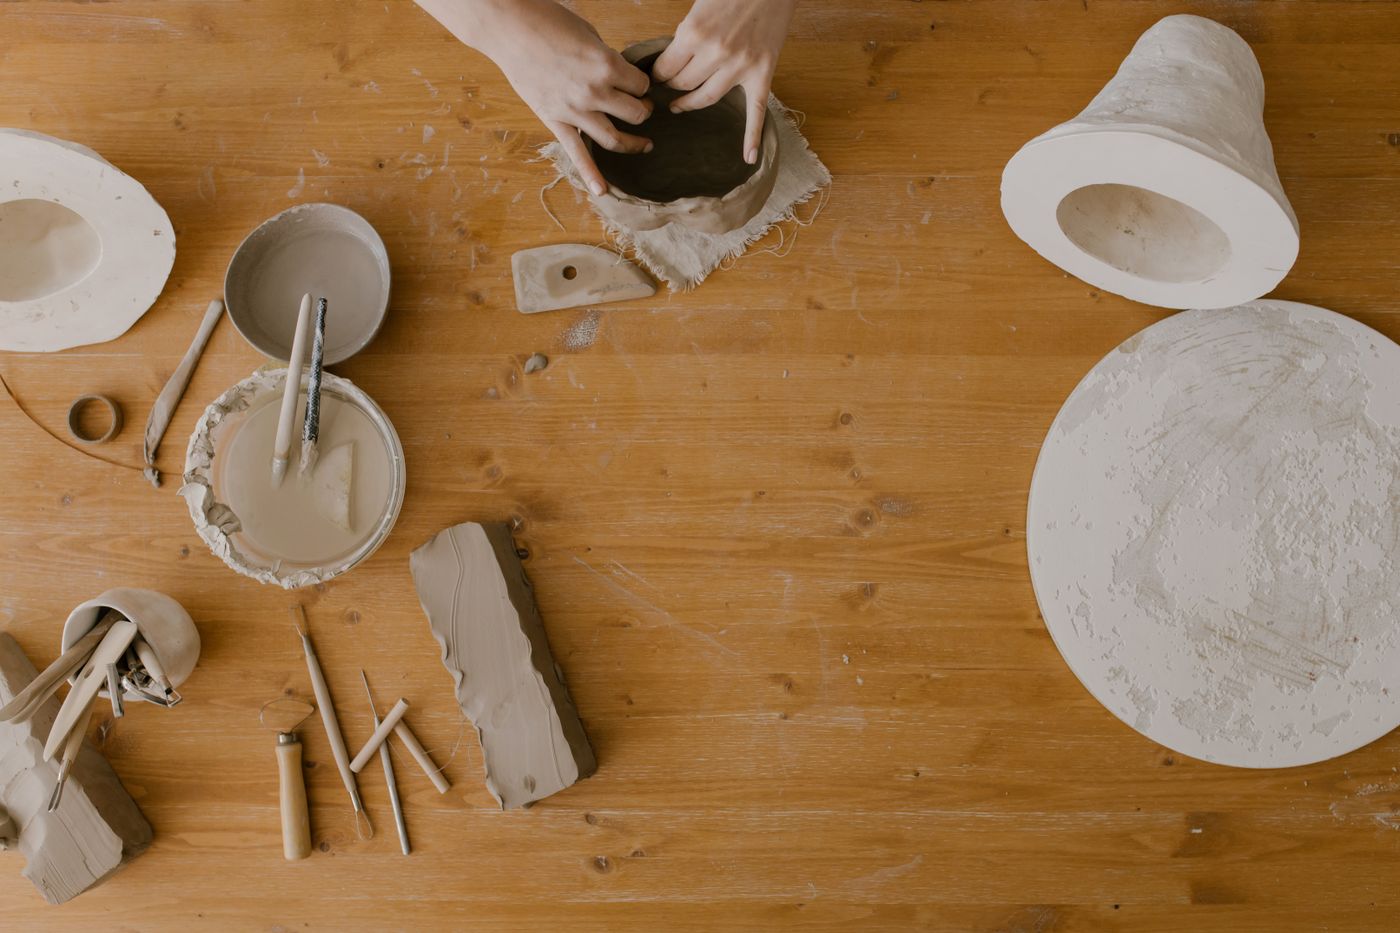
A bat is a removable disc that pins to the wheel head so a finished piece can be lifted off without touching it. Throw a mug, pop the bat off, set it on a board, put a fresh bat on the head, throw the next one. Without bats you cut each pot free with a wire and lift it by hand, which distorts anything with a thin wall or a wide foot.
The arithmetic is simple. A bat stays occupied from the moment the pot is thrown until the pot is stiff enough to trim, which in a normal room is overnight. So you need as many bats as the largest number of pots you will throw in one session. For a set of six matching mugs, that is six bats, and the two in the box are two.
Both Speedball wheels ship a 7.5 inch and a 12 inch bat, which is a sensible pair and not a working set. A 12 inch plastic bat is the standard size for functional ware and fits the 10 inch pin spacing used by Brent, Shimpo and Speedball alike, so bats bought for one wheel fit the next one. Bat pin spacing is one of the few genuinely standardised things in this craft.
Cheaper alternative that works: cut your own from half inch exterior plywood or MDF and drill the pin holes yourself. They warp eventually. They cost about a fifth as much.
What does the clay cost per pot?
This is the number that reassures people, because it is the one input that stays small.
Standard 240 white stoneware, a common cone 6 throwing body, is $44.00 for a 50 pound box at Clayworks Supplies, verified 2 August 2026. That is 88 cents a pound.
| Input | Basis | Per mug |
|---|---|---|
| Clay | $44.00 per 50 lb box, 88 cents per pound, 1.25 lb per mug | $1.10 |
| Electricity, bisque and glaze | $25.48 per full cycle in an 11.52 kW kiln at 18.44 cents per kWh, about 57 glazed mugs per load | $0.45 |
| Clay plus firing | $1.55 |
Clay price from Clayworks Supplies. Firing cost computed from L&L’s segment duty-cycle method at the EIA’s US average residential rate for May 2026, divided across a full glaze load. Glaze is not included here because we could not verify a current pint price at a reachable dealer page on the date of writing; check your supplier. Reclaim reduces the clay figure further, because trimmings and failed pots go back in a bucket rather than a bin.
A dollar fifty-five. That is what the material in a mug costs before glaze, and it is why the cost of pottery is almost entirely in the equipment and almost not at all in the throwing. It is also why the answer to “should I fire a half-empty kiln” is always no: the electricity is the same and the per-piece cost doubles.
The full per-model firing arithmetic lives on the cost to fire a kiln page.
Why is kiln furniture so expensive?
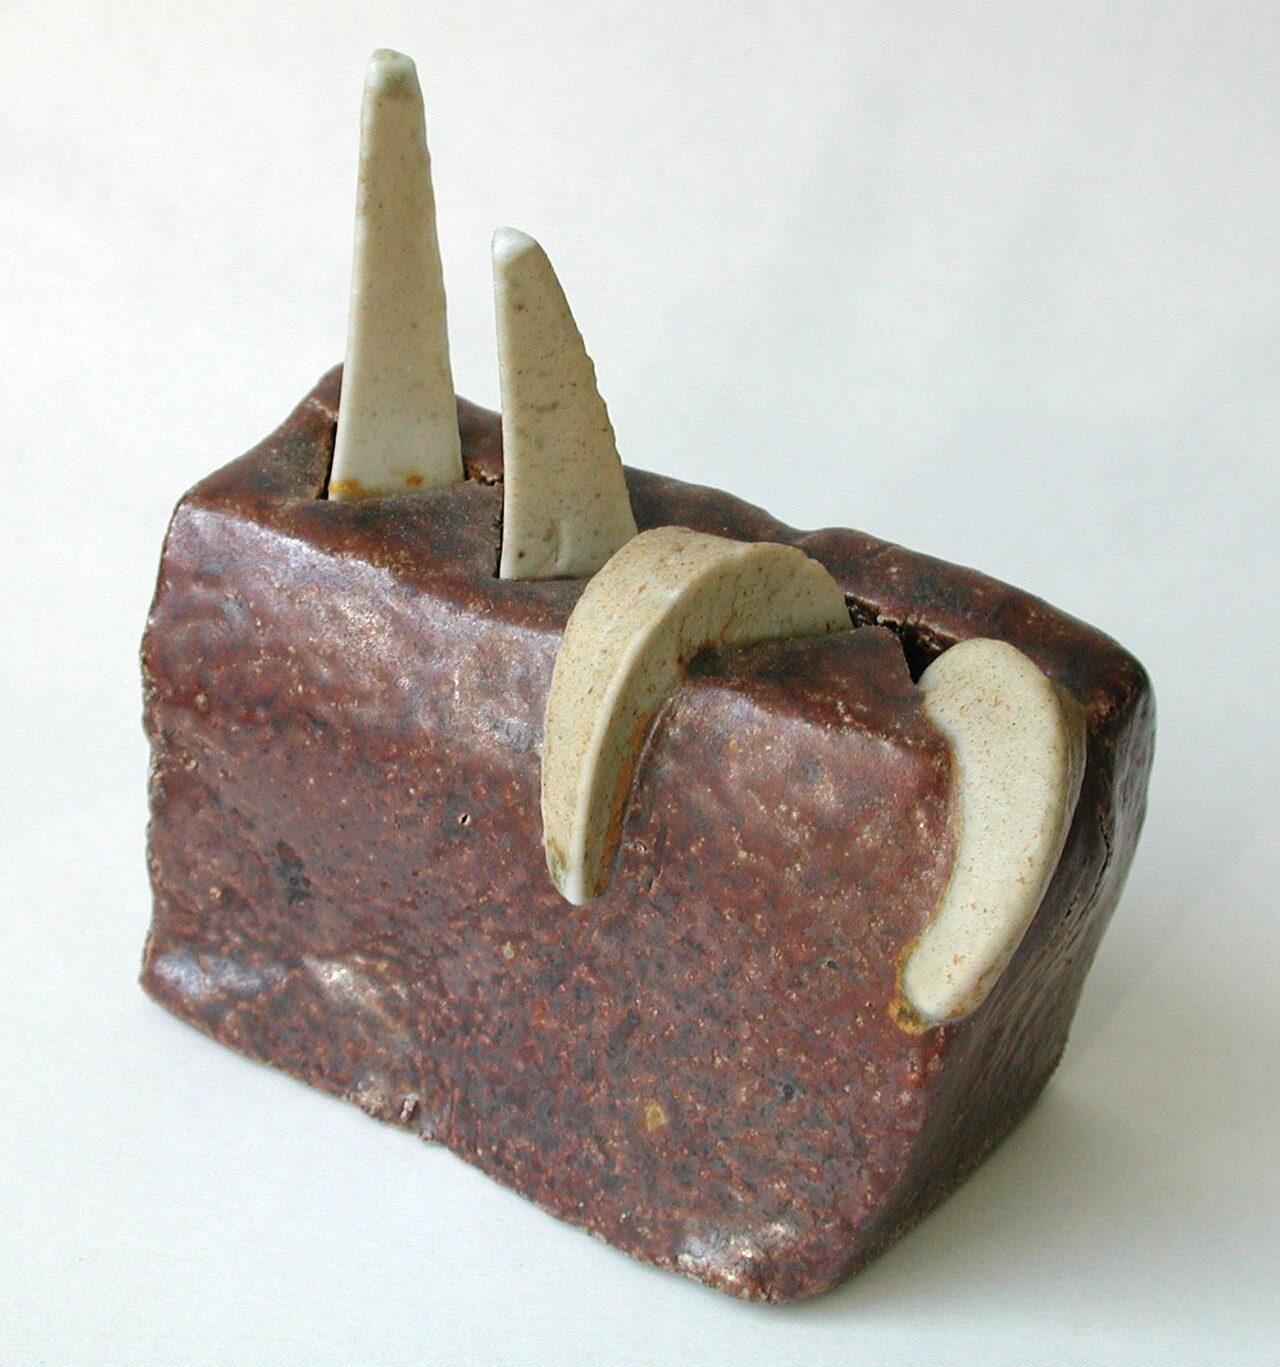
Because a kiln shelf is a slab of refractory ceramic that has to hold work at 2,232F without sagging, and there is no cheap way to make one.
Here is what furnishing a seven cubic foot top-loader costs, at prices read from one dealer on one day so the comparison is honest.
| Shelf option | Unit price | Weight each | Qty for 5 levels | Shelves total |
|---|---|---|---|---|
| 20 in x 5/8 in CoreLite full round, semi-hollow cordierite | $88.86 | 9.3 lb | 5 | $444.30 |
| 20 x 10 x 3/4 in CoreLite rectangle, two per level | $50.60 | 7.5 lb | 10 | $506.00 |
| 20 in x 3/4 in high alumina full round, cone 11 | $114.00 | not published | 5 | $570.00 |
All three read from Sheffield Pottery on 2 August 2026. All three were listed as out of stock or sold out that day, which is normal for kiln furniture and worth planning around. The high alumina shelf also carries a $6.00 per shelf specialty packing fee. Five levels assumes roughly 5.5 inches per tier in a 27 inch chamber, which suits mug-height work; taller pieces mean fewer levels and cheaper furniture.
Now the comparison that reframes the whole budget. A full set of replacement elements for a Skutt KM-1027 is $444.00 at the same dealer on the same day. Five CoreLite shelves are $444.30.
The shelves cost the same as the elements. One is a consumable you replace every couple of years and everybody knows to budget for; the other is a one-time purchase almost nobody includes in the price of the kiln.
Three practical notes that follow from that table.
Half shelves cost more than full rounds here, not less. Two rectangles at $50.60 make a level for $101.20 where one full round makes it for $88.86. What half shelves buy is flexibility: you can stagger levels for tall and short work in the same firing, and you can lift 7.5 pounds instead of 9.3.
Weight is a real specification. Five full rounds is 46.5 pounds of ceramic you lift in and out of a chest-height chamber every firing. Ten rectangles is 75 pounds in smaller pieces. Semi-hollow shelves like CoreLite exist specifically to reduce this, and the marketing claim that they warp less and use less energy is a second-order benefit; the first-order one is your back.
Posts are separate and they break. High alumina kiln posts come in one-inch increments and you want three per shelf level in several heights, because the whole point of posts is choosing a stack height to suit the load. Buy more than you think. They get dropped.
Kiln wash goes on the top of every shelf, every time. A glaze drip that reaches an unwashed shelf fuses to it permanently and takes a grinder to remove. A four pound carton coats a lot of shelves. Never wash the underside, because it flakes off onto the work below.
Do you need cones if the kiln has a controller?
Yes, and this is the least optional thing on the page.
A controller reads one thermocouple at one point in the chamber and infers everything else. A pyrometric cone is a piece of ceramic engineered to deform at a specific combination of temperature and time, which is what actually matures a glaze. The two answer different questions: the controller tells you what its sensor saw, and the cone tells you what the shelf experienced.
They disagree more often than people expect, and the ways they disagree are exactly the failures worth catching. A thermocouple drifts as it ages and starts reading high, so the kiln shuts off early and the glaze comes out underfired. The top ring runs cooler than the middle. A load packed tight on one side heats unevenly. None of those show up on a controller display and all of them show up on a cone.
Use self-supporting cones, which stand on their own and need no holder, and put one on the top shelf, one in the middle and one at the bottom of a full load. A package of 25 lasts a long time at three per firing. Buy the number your schedule targets, plus a guard cone one number hotter and a warning cone one number cooler if you want to read the whole story.
Our pyrometric cones explained page covers the numbering, which runs backwards in a way that catches everyone once, and the firing schedules guide has the ramp-and-hold programmes to run against them.
How should you buy glaze?
In one of three formats, and the choice matters more than the colour.
Brushing glaze in pints. The easiest entry. You brush three coats, you use very little, and a pint covers a lot of small work. It is the most expensive per fired square inch and the most forgiving of a small studio with nowhere to store buckets.
Dry glaze in 25 pound bags, mixed to a dipping bucket. How production studios buy. Far cheaper per piece, needs a five gallon bucket, a scale and somewhere to keep it, and dipping gives a more even coat than brushing ever will. This is where a gram scale reading to 0.1 g stops being optional, because a glaze recipe is a weight formula and eyeballing it produces a different glaze every batch.
Underglaze for colour and decoration. Underglaze goes on greenware or bisque, takes a clear glaze over the top, and behaves like paint rather than like a coating that melts. A 12-jar set in 2 oz jars is a low-risk way to find out whether you like decorating before you buy a gallon of anything.
Whichever you choose, test tiles first, on the clay body you actually use. Glaze behaviour is a property of the pair, not of the glaze, and the same bucket over two different stoneware bodies produces two different results.
Shelving, ware boards and the space problem
Pottery is a queue. A pot is wet, then leather hard, then bone dry, then bisqued, then glazed, then fired, and at every stage it has to sit somewhere untouched for a day or more. A studio that can throw twenty pots a week and only store eight is throttled by the shelf, not by the wheel.
What works, in rough order of cost:
- Ware boards. Half inch plywood cut to a size that fits your shelving. Pots sit on the board and the board moves, so nothing gets handled twice.
- A wire or steel rack. Any utility shelving with adjustable levels. Depth matters more than width; a 24 inch deep rack holds two rows of boards.
- Plastic sheeting. The cheapest tool in the studio and the one that saves the most work, because covering a piece loosely slows drying and stops a handle cracking off a mug overnight.
- A damp box. A lidded tub with a plaster slab in the bottom, which holds work at leather hard indefinitely so you can trim on your own schedule.
None of that is specialist and none of it needs to be bought from a ceramic supplier.
The safety kit, and the part with a federal number on it
Dry clay dust is respirable crystalline silica, and OSHA regulates it under 29 CFR 1910.1053 with a permissible exposure limit of 50 micrograms per cubic metre averaged over eight hours, and an action level of 25 micrograms on the same basis. Those are workplace numbers rather than home-studio law, but the biology does not check whether you are being paid.
Three rules follow directly from that standard, and all three are about how you clean rather than what you wear.
Do not dry sweep. OSHA’s own housekeeping provision prohibits dry sweeping or brushing where it would increase exposure and where wet sweeping or a HEPA vacuum is practical. A broom takes settled dust that was doing no harm and puts it back in the air you breathe.
Do not use compressed air on surfaces. Same provision, same reason, and the standard names it explicitly.
Wet clean everything. A mop and a sponge. Wipe the wheel down while the clay is still wet, before it dries and becomes airborne.
For the times when dust is unavoidable, mixing dry glaze being the obvious one, a P100 half facepiece respirator is the right equipment. A paper dust mask is not, and a surgical mask is not remotely.
The other half of studio safety is the kiln itself, which vents fluorine, sulfur and other compounds during firing. That is a ventilation problem rather than a mask problem, and our kiln ventilation guide covers the downdraft systems that solve it.
What can you skip?
A short list, because most beginner tool advice is padding.
The 43-piece kit. You will use eight of them.
A banding wheel, at first. It is a hand-turned turntable for decorating and glazing, genuinely useful once you are applying glaze to a batch, and completely idle in your first three months. Buy one when you catch yourself rotating a pot with your wrist.
A slab roller, an extruder, a pug mill. All excellent, all four figures, all replaceable by a rolling pin, your hands and a wedging table respectively.
A second wheel. The upgrade that feels obvious and is almost always wrong. If your current wheel is genuinely the constraint, the Clay Boss against the Artista sets out what a step up actually buys, and the pottery wheel buying guide covers the wider market. Most of the time the constraint is shelf space.
Buy in this order
Clay, an eight-piece tool kit and a bucket, on day one. Ware boards and a rack, before the second session. Kiln furniture and kiln wash, with the kiln, as part of the kiln’s price rather than as an afterthought, because five shelves cost what a set of elements costs. Cones with the first firing. Glaze last, and in small quantities, after you have test tiles that tell you what your clay body does with it.
If the kiln itself is still ahead of you, the first kiln buying guide starts from the electrical reality rather than the catalogue, and the kiln parts guide explains which parts of a kiln are consumables and which are not. Add roughly $500 to whatever number you land on, for the ceramic slabs the work has to sit on.
As an Amazon Associate we earn from qualifying purchases.